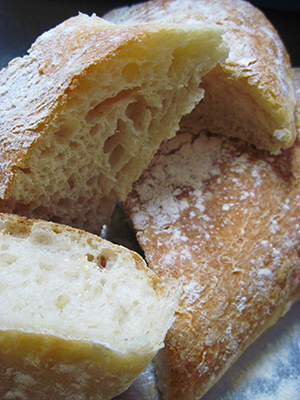
 I recently went to a gathering where one of the invited guests brought some of her homemade ciabatta bread. I’ve always been a huge fan of ciabatta bread but had never made it before. After trying hers, I was willing to give it a try.
If you’ve never heard of ciabatta before, let me explain…
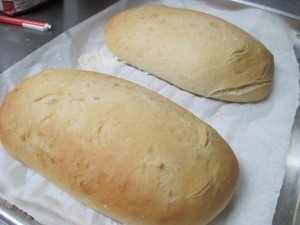
This long and flat bread was created in Italy back in the 1980’s, and the literal translation of the word ciabatta is slipper, due to its wide and elongated shape. Its popularity further spread throughout Europe and then finally made it to the US in the early 1990’s. It is often used in pannini sandwiches and sometimes used in muffaletta sandwiches in place of focaccia.
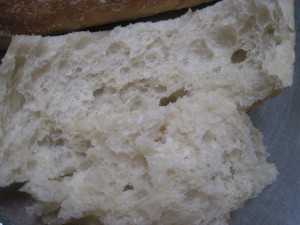
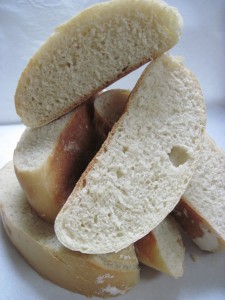
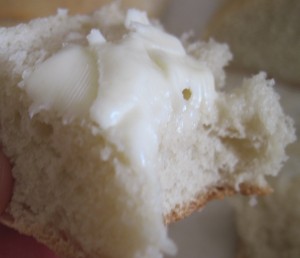
Traditional ciabatta has a crisp crust with a soft and very porous interior. Many people only use bread flour to make them but I have had great luck using all purpose flour, so if that’s all you have on hand, it will still work. Just keep in mind that if you use bread flour, it may require a little more water because of the higher protein content. There are different versions of ciabatta: one uses some whole wheat flour in their formula while others include the additions of milk or seasonings like salt, olive oil and other mixed herbs.
I began to do some research on traditional recipes and found that in order to achieve the very porous inner structure, the dough must be very wet…almost to the point where you may think you have done something wrong. In many of the recipes that I came across, they made something called a pre-ferment, otherwise known as biga, poolish or the more commonly known starter. This is made with the yeast, flour and water and allowed to proof for many hours, then worked into some more flour to create a relatively loose dough. The hardest thing about making ciabatta bread is resisting the urge to add more flour. One recipe that I came across suggested an 18 hour proofing time, and I don’t know about you, but I don’t want to have to plan too far ahead for a slice of bread…
Then I came across a really great video which I want to share with you here. I followed her technique using my recipe and got great results. The longer you allow the dough to proof, the more porous it will become…and 3 hours was plenty for me.
It all boils down to your technique and proofing time…Using this recipe and procedure eliminates the requirement for the preferment completely.
Many recipes that I came across were very similar but yielded different results based on the technique used. You can use this same recipe to create a firmer more traditional loaf bread by decreasing the water OR you can turn this same recipe into ciabatta loaves by adding more water. The quick and easy loaf bread comes together in minutes and is easy enough to make every day because it requires very little proofing time. You can shape it into the traditional free form ciabatta shape, and have fresh bread on the table quickly. Regardless of which one you choose to make, it’s all going to come down to time. The traditional ciabatta requires more proofing time, so make sure to try this at least once in your life when you have a little more time on your hands.
Traditional Ciabatta Bread
3 1/2-4 1/2 cups flour
2 teaspoons yeast
1 1/2 teaspoons salt
2 cups warm water
1 tablespoon sugar
Add the yeast to a small bowl and whisk in the warm water until the yeast has dissolved. Add the 3 1/2 cups flour, salt and sugar and beat until the dough does not appear as wet and begins to pull away from the sides.
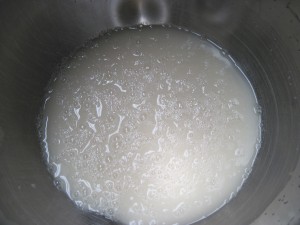
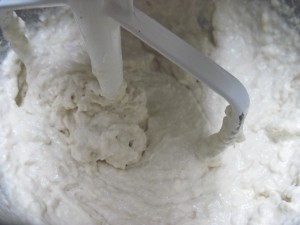
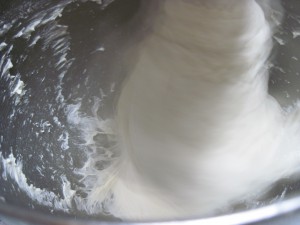
Once it has pulled away from the sides, place the dough into a lightly greased bowl and cover with plastic wrap and tea towels. You may want to gently spray the plastic wrap with some pan release spray so that it does not stick to the dough. The first proof will allow the dough to triple in size, about 3 hours.
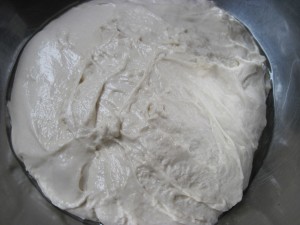
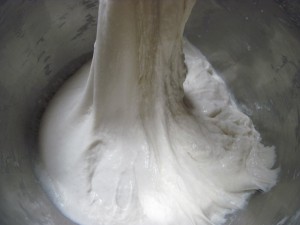
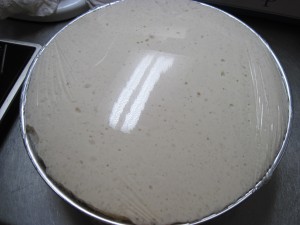
Once it has tripled in size, add some of the extra flour to the surface of the counter and pour the dough out onto the floured surface. Using your dough scraper, cut the dough into 2 equal portions, dust the tops with more of the remaining flour, and allow them to proof covered with either a clean towel or loose plastic wrap for a second time on the counter top, about 30 minutes.
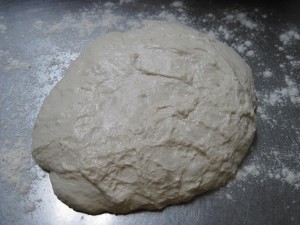
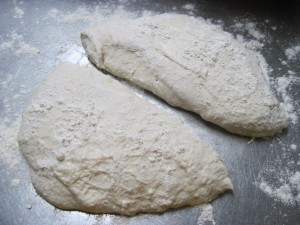
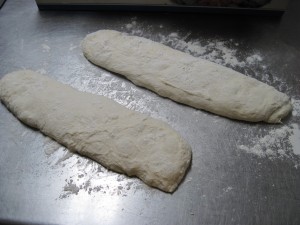
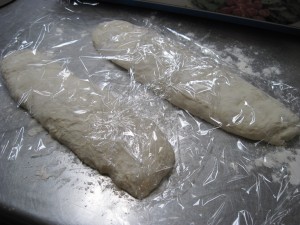
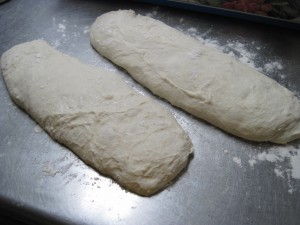
Preheat your oven to 425°F and place an empty metal sheet pan into the oven. After the 30 minutes is up, line another sheet pan with some parchment paper and gently dust with flour. Take 2 dough scrapers and collect the dough from the counter and then place upside down onto the tray. Use your hands to stretch out the dough into the traditional ciabatta shape and then repeat the same procedure with the other one. Add more flour to the surface.
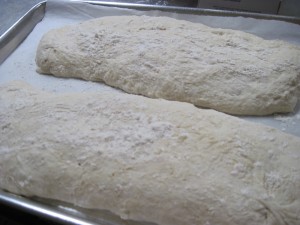
Open the oven and throw 1 cup of ice onto the sheet pan that you had previously placed in the oven to create some steam, and quickly place the other sheet pan with the dough directly into the oven. After 10 minutes, open the oven and throw another cup of ice onto the sheet pan on the bottom rack and then rotate the pan with the bread, so that it cooks evenly.
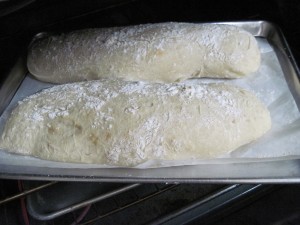
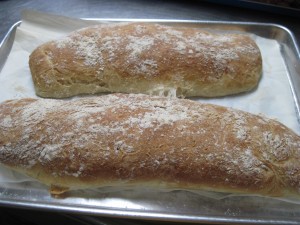
Bake for an additional 20-30 minutes until golden and crispy all over, especially underneath.
Ciabatta Bread Recipe #2 (quick & easy version)
3 1/2 -4 1/2 cups all purpose flour
2 teaspoons rapid rise yeast
1 ½ teaspoons salt
1 tablespoon sugar
1½ cup warm water
Add the yeast and the warm water together in the bowl of your stand mixer and whisk to combine everything together. Add all of the flour to the bowl and then on top of this add the sugar and the salt. Use the paddle attachment to mix the dough together until it comes together. The dough will be moist, but not wet.
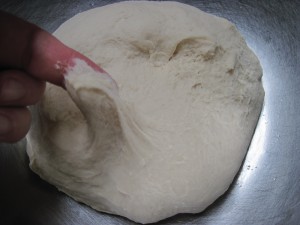
Beat the dough with the paddle for about 10 minutes and then place into a lightly oiled bowl, then cover and allow to double in size in a warm but not hot place, about 1 hour.
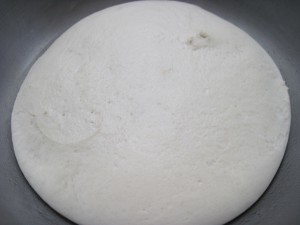
Once the dough has completed the first proof, cut the dough into two equal portions and stretch out into an elongated ciabatta shape. Cover and proof again for 30 -60 minutes until doubled again.
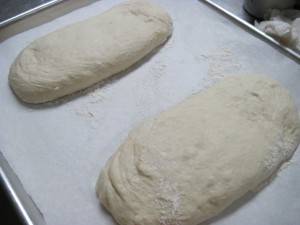
When the dough has risen for a second time, place an empty metal sheet pan into a preheated 425°F oven. After 10 minutes, throw 1 cup of ice cubes onto the sheet pan to create some steam, and place the loaves into the oven. After about 10 minutes, add another 1 cup of ice cubes onto the tray in the oven and rotate the tray with the bread. Bake for another 20 minutes until they are golden brown underneath and all over the top. This loaf will not have the porous structure that traditional ciabatta will have, but is perfect for a daily loaf bread with a lovely, soft and chewy crumb.


Leave a Reply