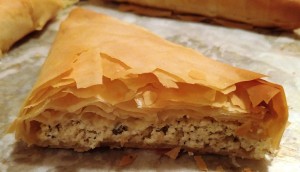
 One of my non Greek friends simply loves feta cheese, especially those little savory treats called tiropita (pronounced tee-ro-peeta) that are filled with a mixture made from crumbled feta cheese. Whenever she plans to visit, she calls ahead to ask me to make her some. These flaky little pastries are usually made with all feta cheese along with a few other traditional ingredients, but over the years I have tweaked the filling to make it a little creamier. he filling is rolled in a very thin dough called filo (pronounced fee-lo) dough, and after they’re baked, the golden brown filo gets so crispy and is the perfect wrapping for that creamy filling. For many people, feta cheese is an acquired taste. For me it is a delicacy that I enjoy eating in so many ways — but did you know that not all feta cheese is created equal?
The imported feta cheese products are made from goat’s milk and are very smooth, creamy and not very salty. You should expect to pay a premium price for these, but it’s worth it. I recently saw a 4 pound container from one of the best brands you can buy, called Dodoni, and that tub was $30 on the wholesale level. The domestic choices are much cheaper and tend to be a little drier and saltier. This type is fine to use when making spanakopita and tiropita, but if you are going to be serving large wedges of feta on a platter with olives and sliced vegetables or in a salad , it’s better to go with the premium quality.
My dad’s tiropita recipe used all feta cheese, but over the years, I chose to incorporate a little cream cheese to create a milder tasting filling that is not too overwhelming. The cream cheese does not take away from the overall flavor of the tiropita, but rather rounds out the saltiness by adding a little creaminess.
I once tried using ricotta with the feta, and another time I tried cottage cheese — what a disaster — both resulted in a terribly soggy filo. Then I chose to add some cream cheese and discovered that it worked best. I also experimented with the ratio of feta to cream cheese, and this recipe yields a perfect balance between the two. One more thing about how to purchase feta… It is less expensive to buy the feta as a solid piece of cheese and crumble it yourself.
Make sure to let the filo dough thaw in the refrigerator overnight, otherwise you run the risk of having condensation form inside the plastic wrapper, which will ruin your delicate layers. If you unwrap your filo and it seems dry or brittle, it is not fresh and you should return it to the store. Fresh filo is beautifully pliable and easy to manage. Once you have had a few experiences working with the dough, you will become more comfortable in handling it the next time.
Tiropita (makes 22 – 3” triangles)
1lb 4 oz crumbled feta
12 oz cream cheese, room temp
2 eggs, slightly beaten
Pepper to taste (start with ¼ teaspoon, then add more if you like at the end)
4 Tablespoons dry mint leaves (remove any large stems and crush leaves in palms)
1lb filo (22 sheets in each packet, cut in half lengthwise)
1 cup olive oil (you can also use half oil and half ghee for a more buttery flavor)
Put feta into a large bowl and crumble with your fingers or a fork. The imported ones are a little easier to crumble than the domestic ones because they are much creamier. Add softened cream cheese and use a fork to incorporate it into the feta.
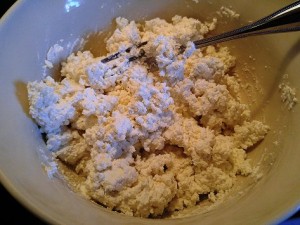
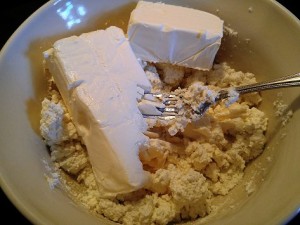
Add the eggs, pepper and dried mint and use your fork to combine it all well together. When adding the mint, make sure to place 1 tablespoon of dried mint into the palm of your hand and crush the leaves well between your palms. Once it has become more powdery, add it to the cheese mix. Repeat this with the other 3 tablespoons of mint. make sure to remove any large dried stems while doing this.
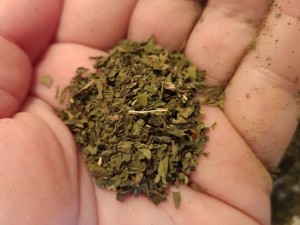
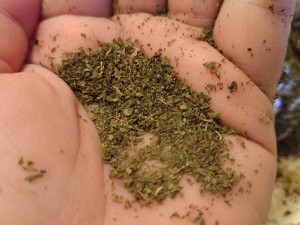
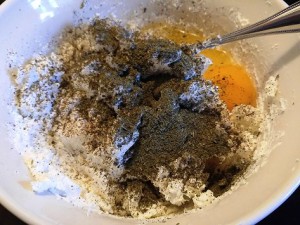
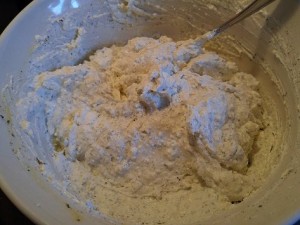
Stir it all together, and now your filling is ready. Taste filling and add in any additional pepper if you prefer at this time. This is not supposed to be too spicy!
Open your packet of filo and count out how many sheets are in your packet. Depending on the thickness, there should be anywhere from 21 to 23 or so pieces per packet.
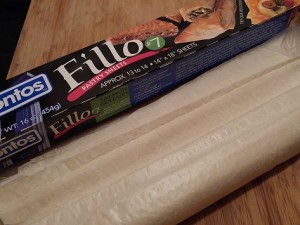
You need to decide if you are going to make the larger, individual size portion, or if you prefer to make small appetizer size. For the larger ones, lay the filo out lengthwise and cut it in half. You should use 3 filo sheets per piece and about 2-3 tablespoons of filling for these larger ones. I usually get about 9 large individual portions when I make this size. These are great to serve for lunch or dinner with a great salad.
If you want to make the mini size, lay the filo out lengthwise and cut it in half. Then cut each piece in half again, so you now have the filo cut into quarters. Make sure to work with one strip of the dough at a time, and keep the other 3 covered with plastic and under a moist towel. I use about 2 sheets per piece with 1 tablespoon of filling, and for each strip, you should get about 10 or 11 pieces — so about 40 pieces from the whole box.
Depending on which size you choose to make, you can pre-portion the filling ahead of time so that there is no filling leftover, and you use an even amount for each piece. You can also make the filling ahead of time and keep it covered in the refrigerator for up to 2 days. When you are ready to use it, just remove it from the fridge and leave at room temp for about 30 minutes to soften slightly, then scoop out into the desired number of portions.
Once you are ready to fill the tiropita, take the filo out of the refrigerator and unroll. Use the excess plastic to cover the filo and prevent it from drying out. The rolling process is exactly the same for the triangles regardless of whether you are making the mini or the large ones.
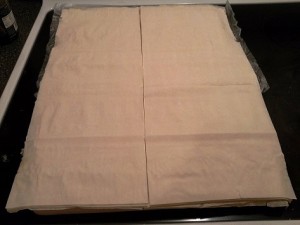
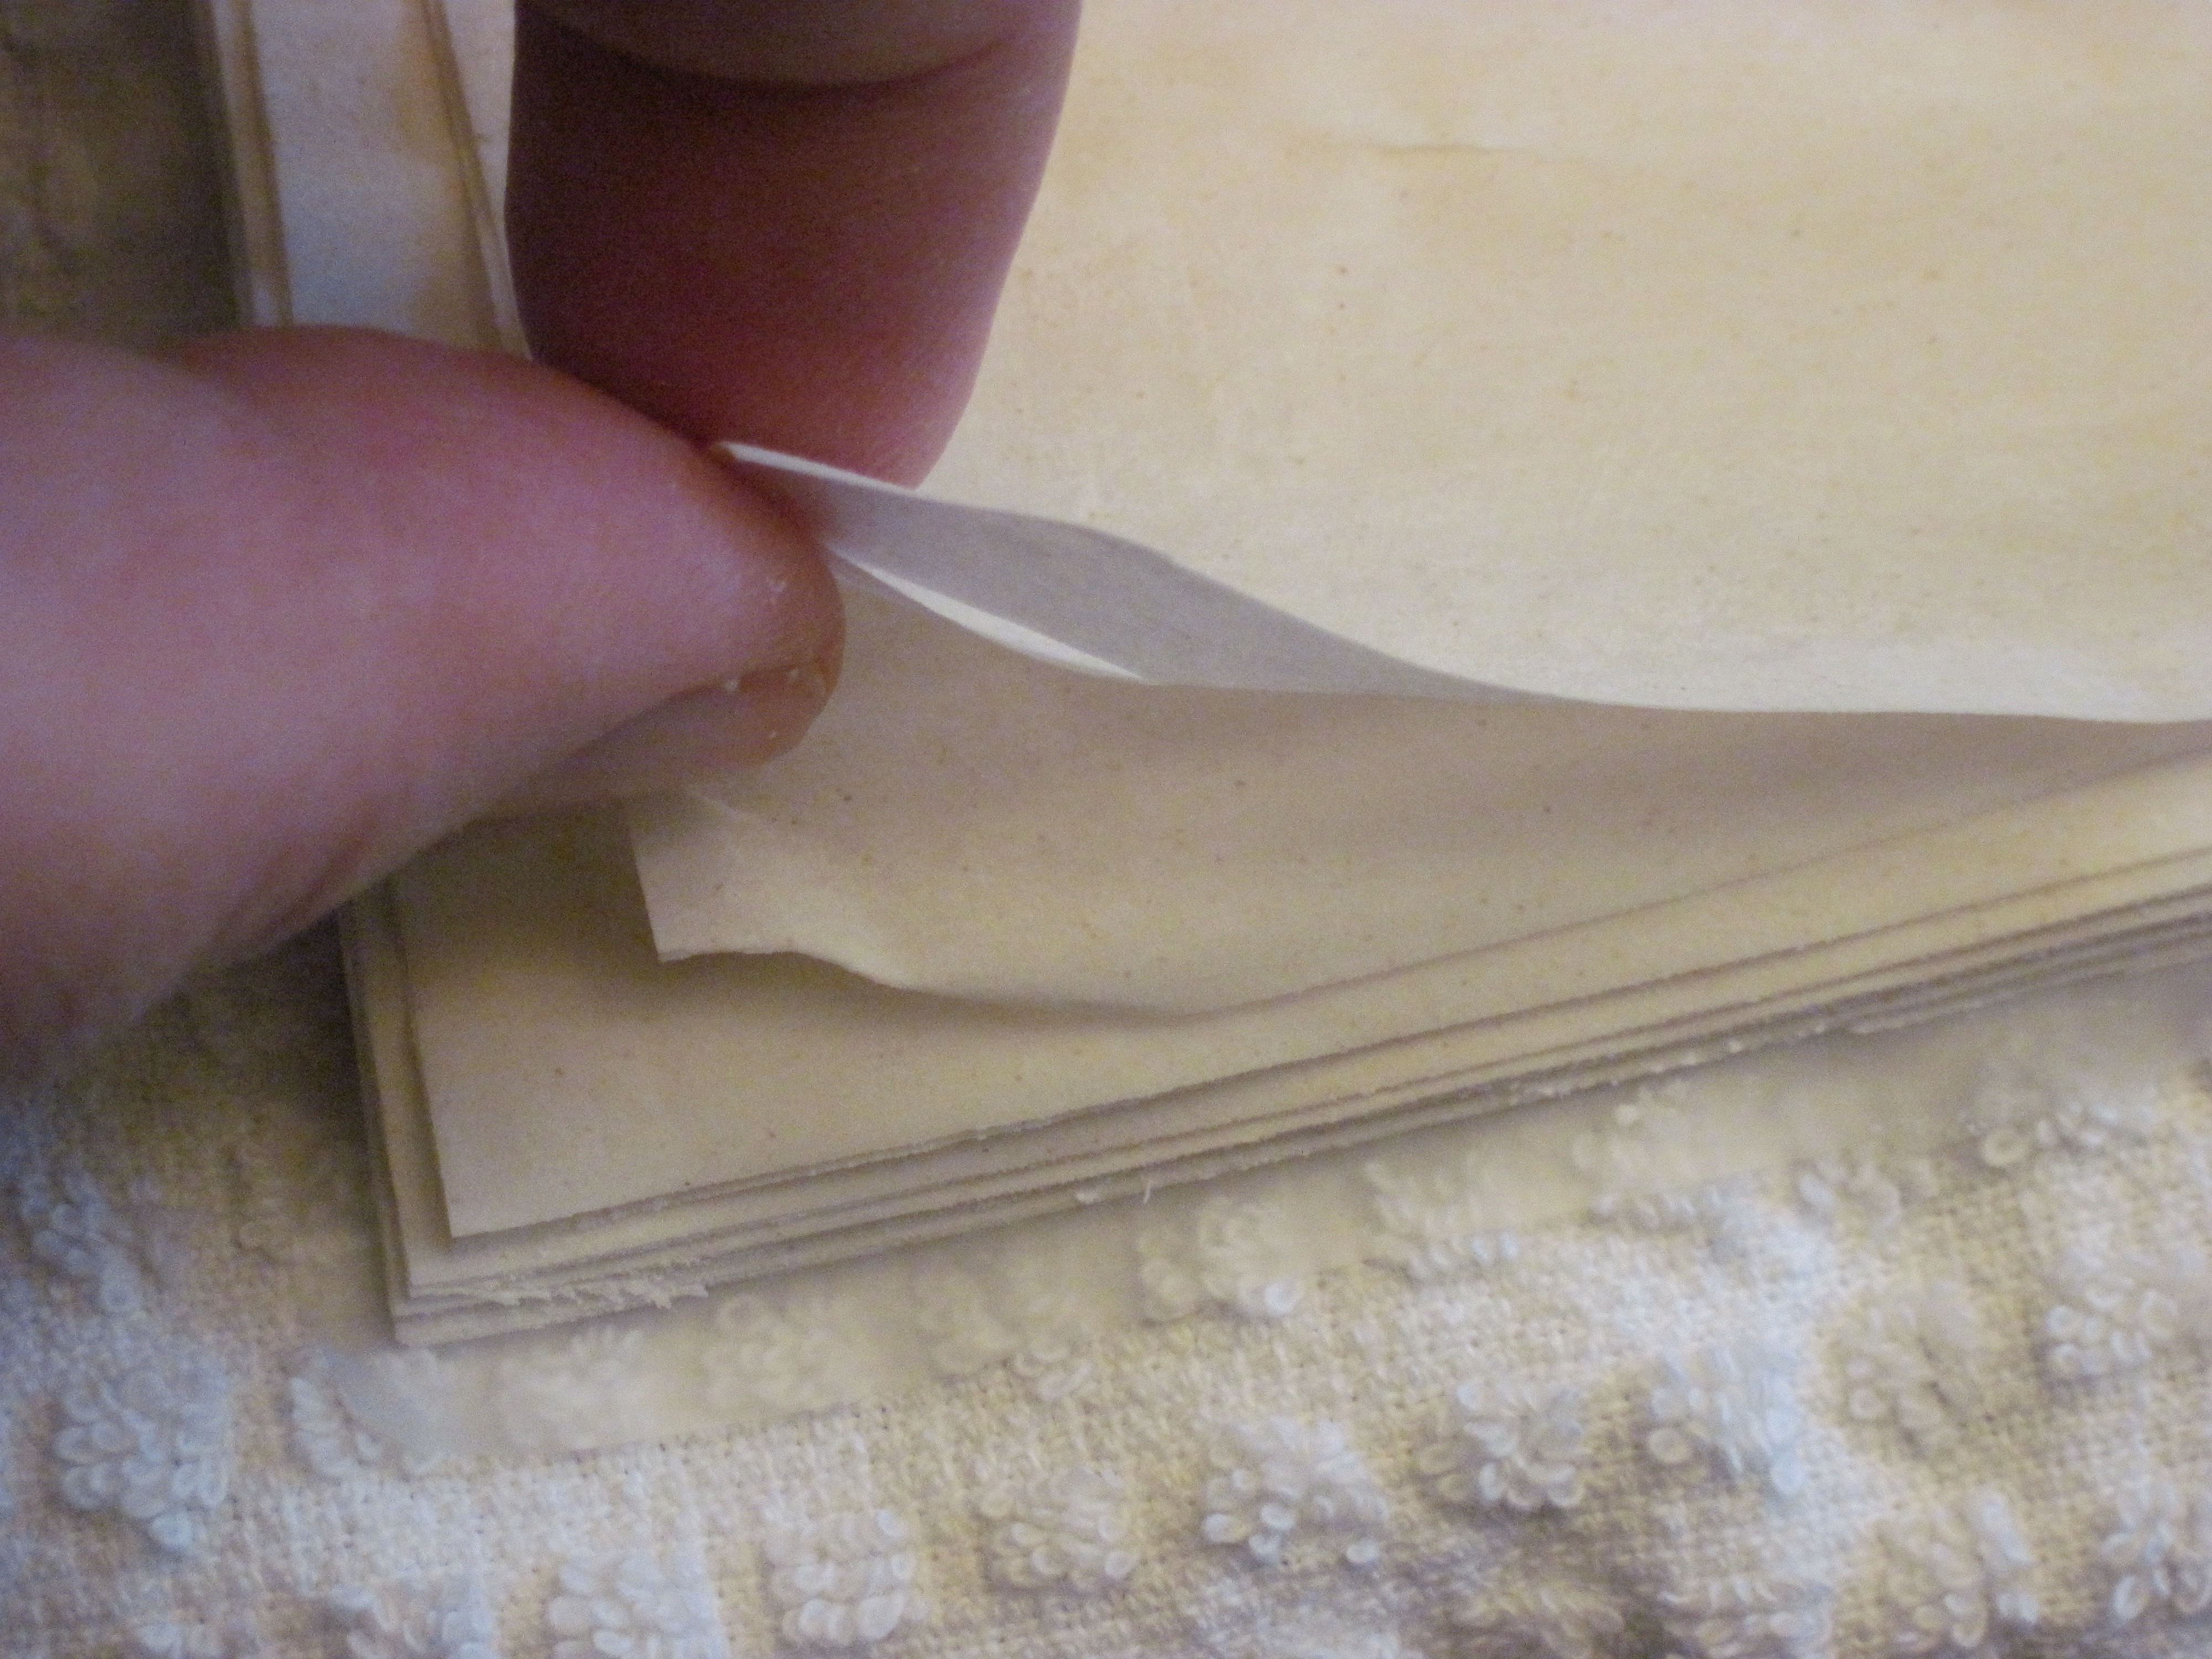
Brittle filo is very difficult to use. Cut the filo into 2 equal portions lengthwise. Work with one and keep the extra stack covered under the plastic.
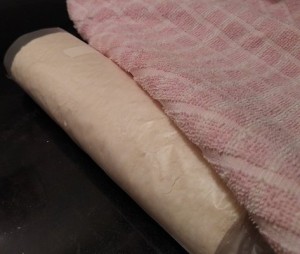
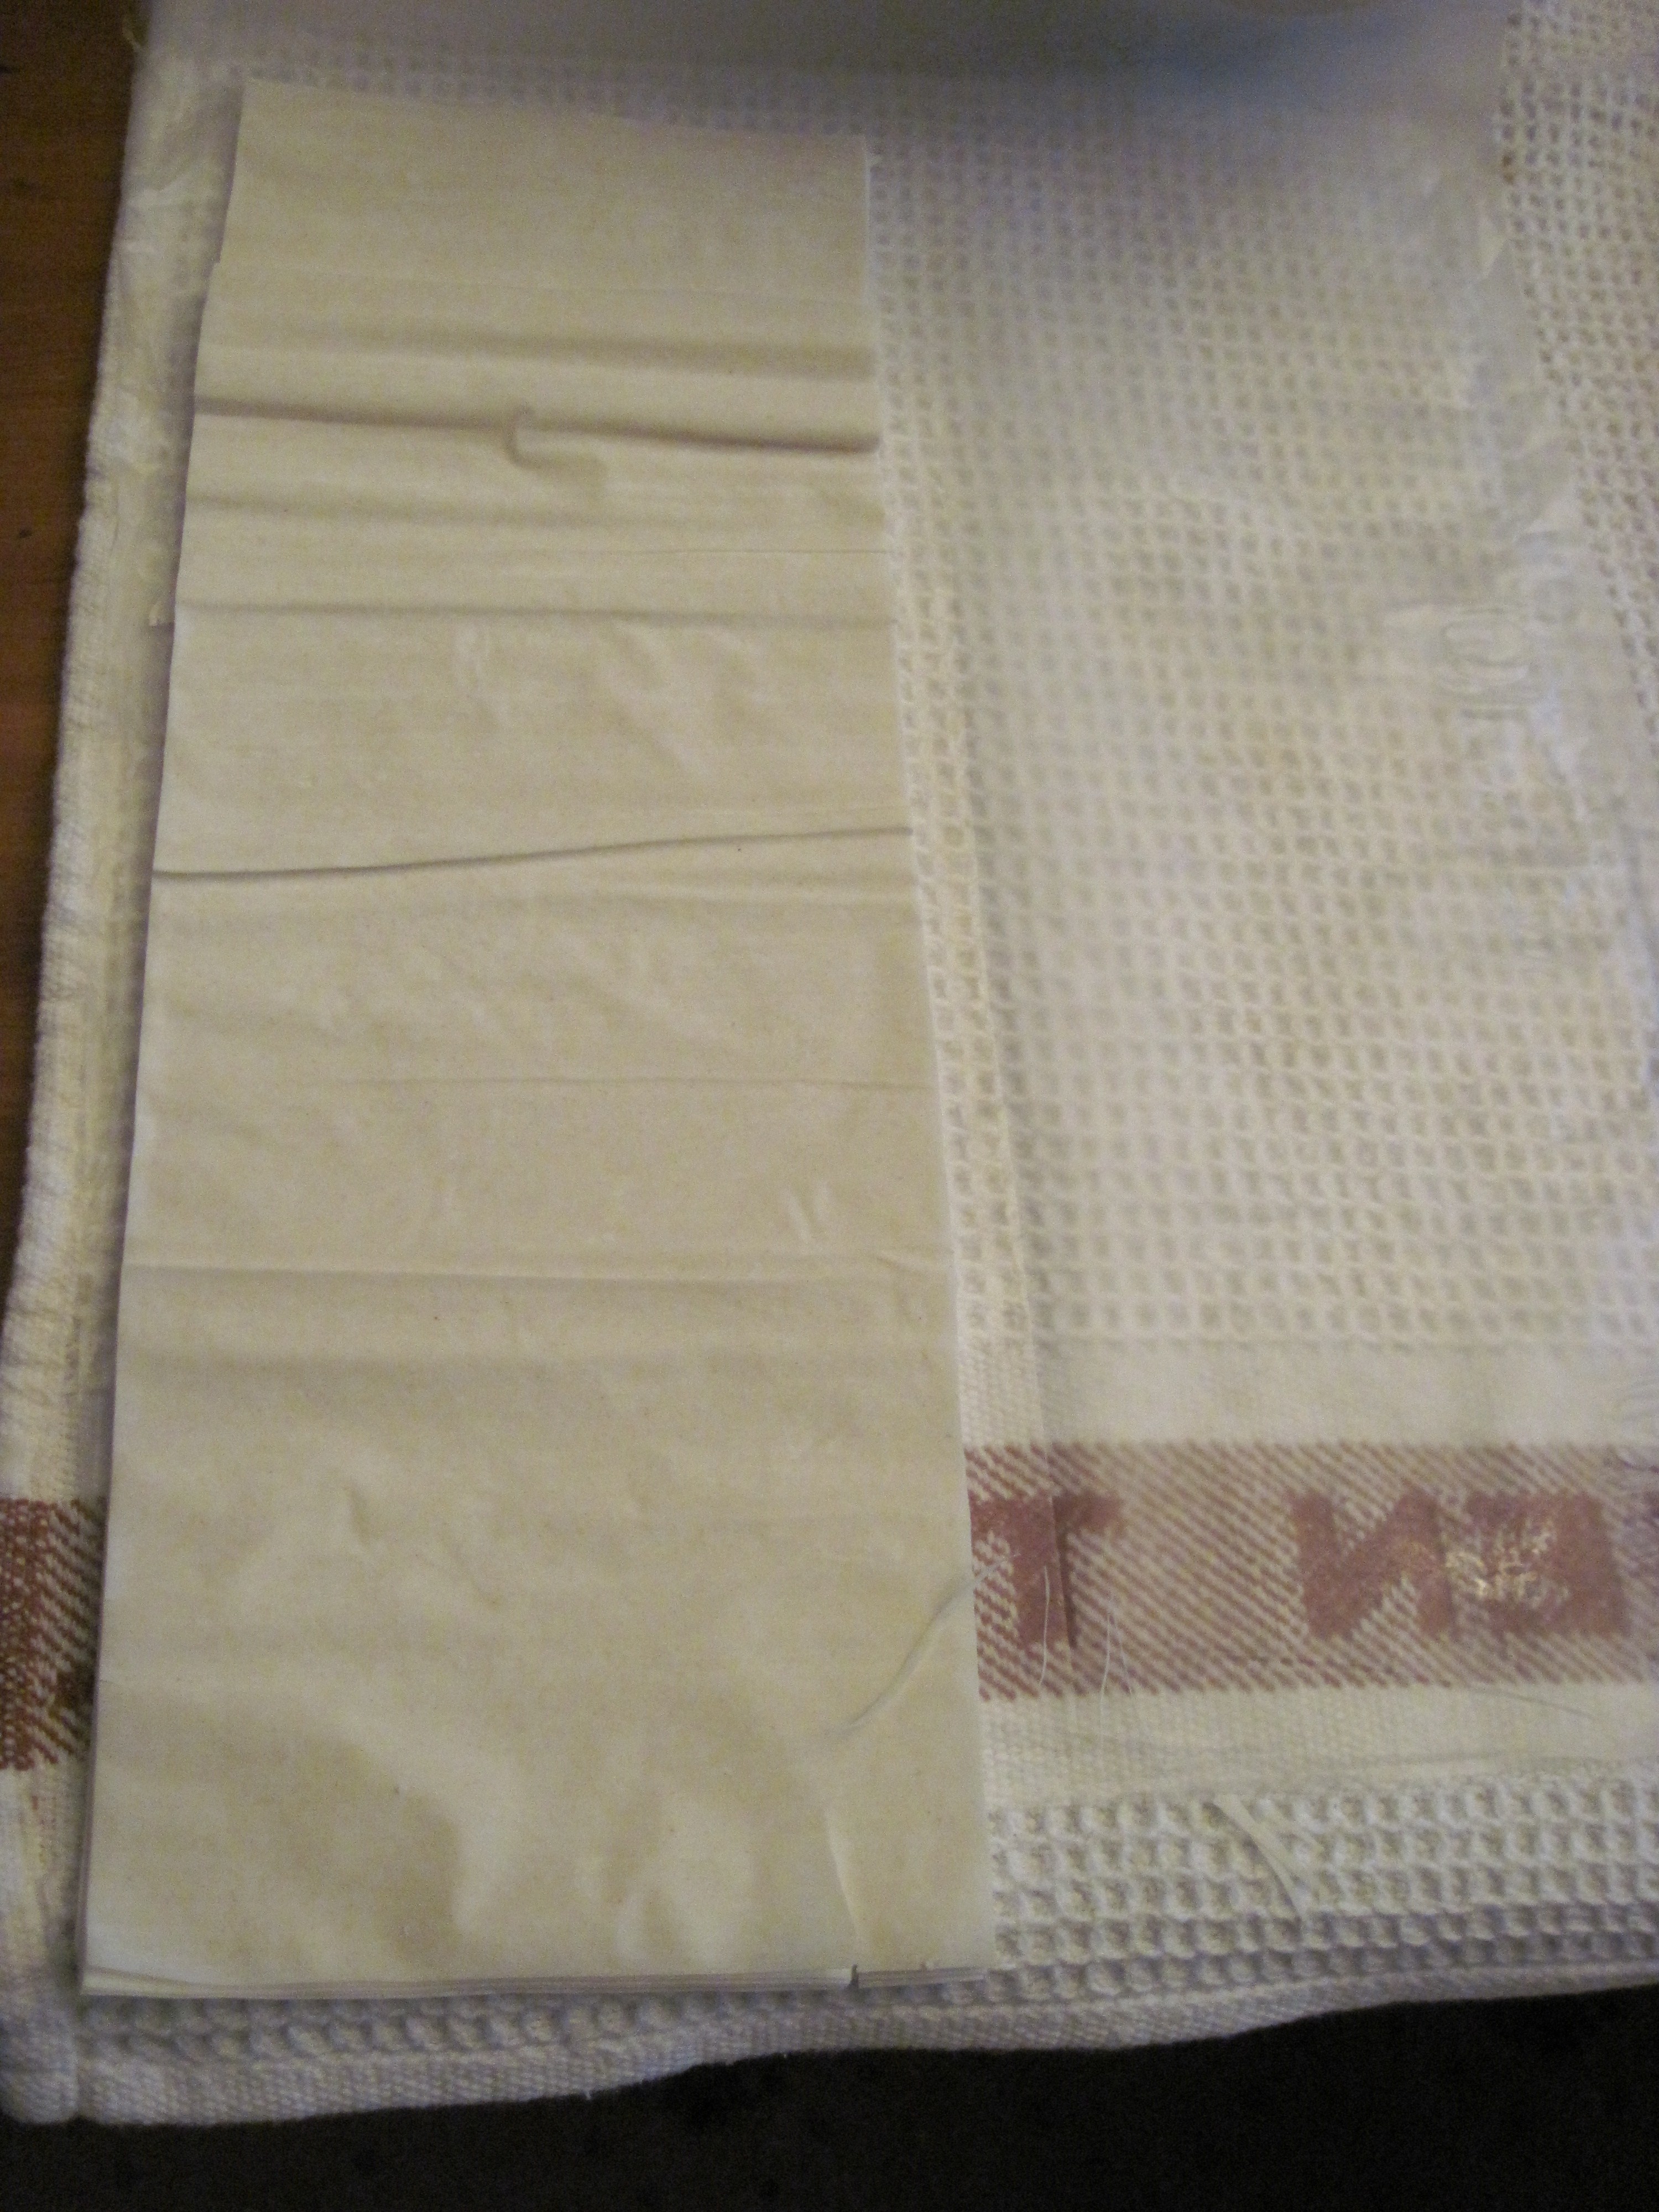
Remove 3 layers at a time onto your work surface…
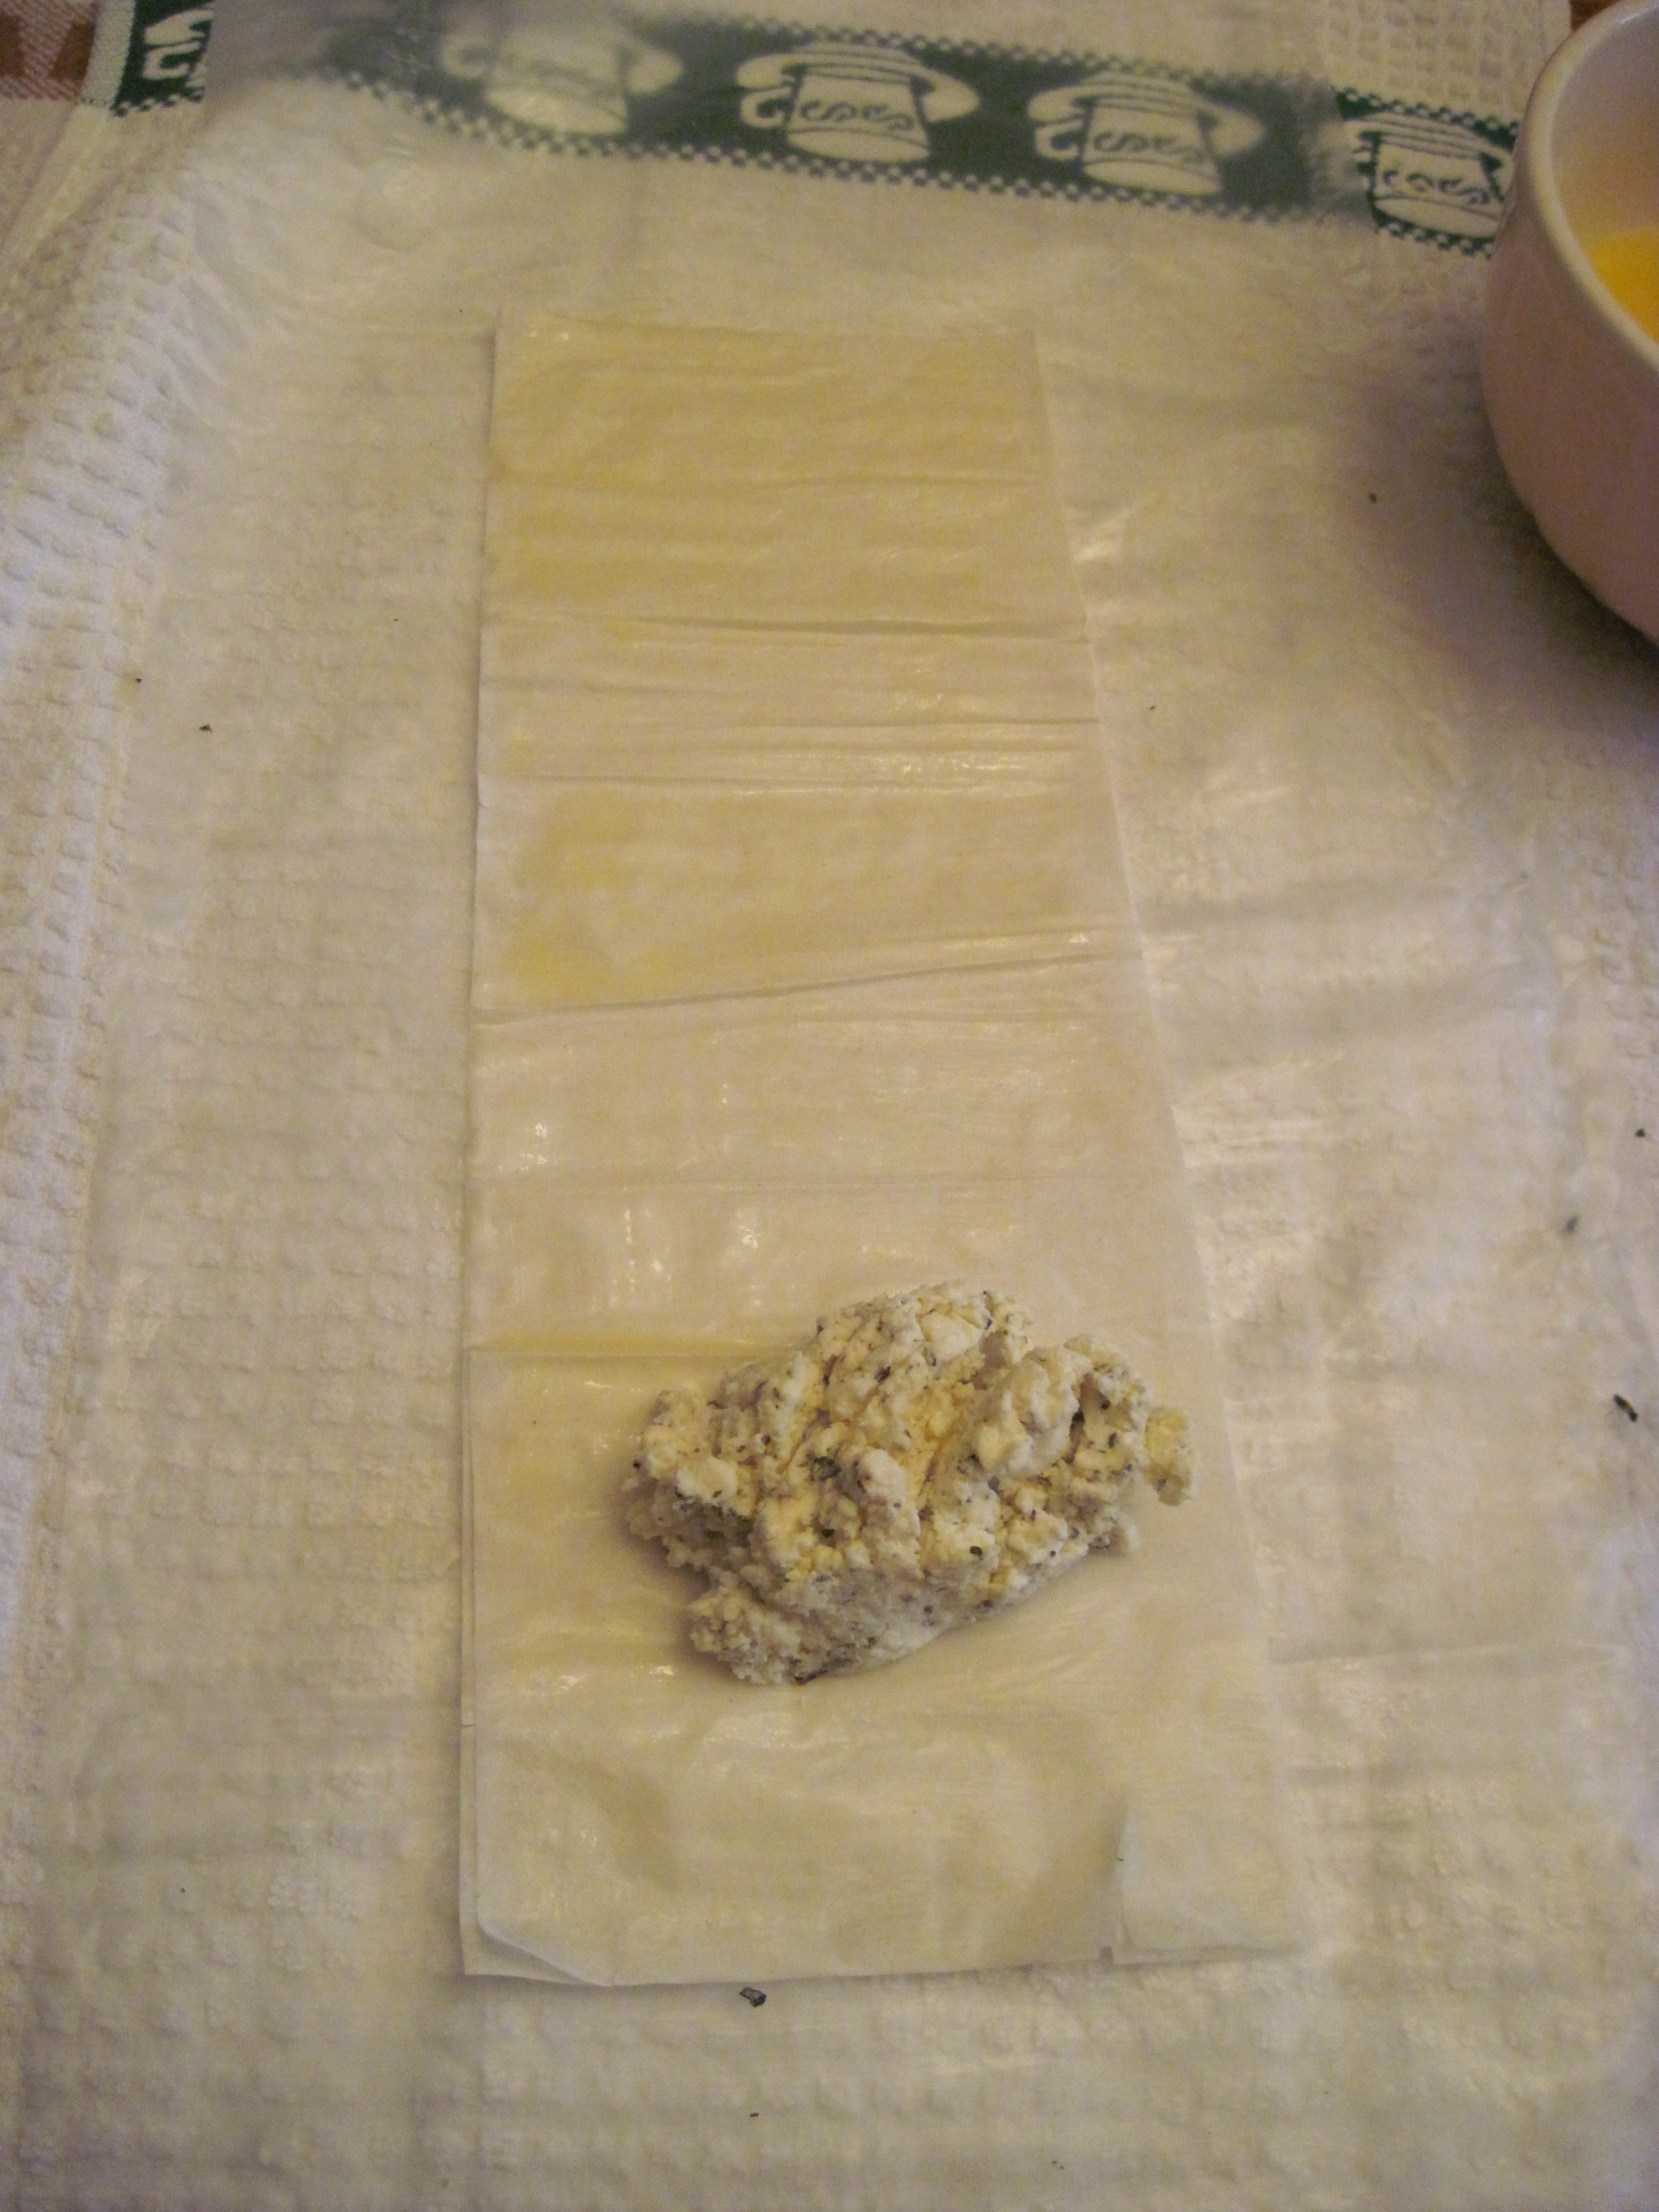
Brush the top layer with oil and place 1 tablespoon of filling onto the edge of the filo closest to you…
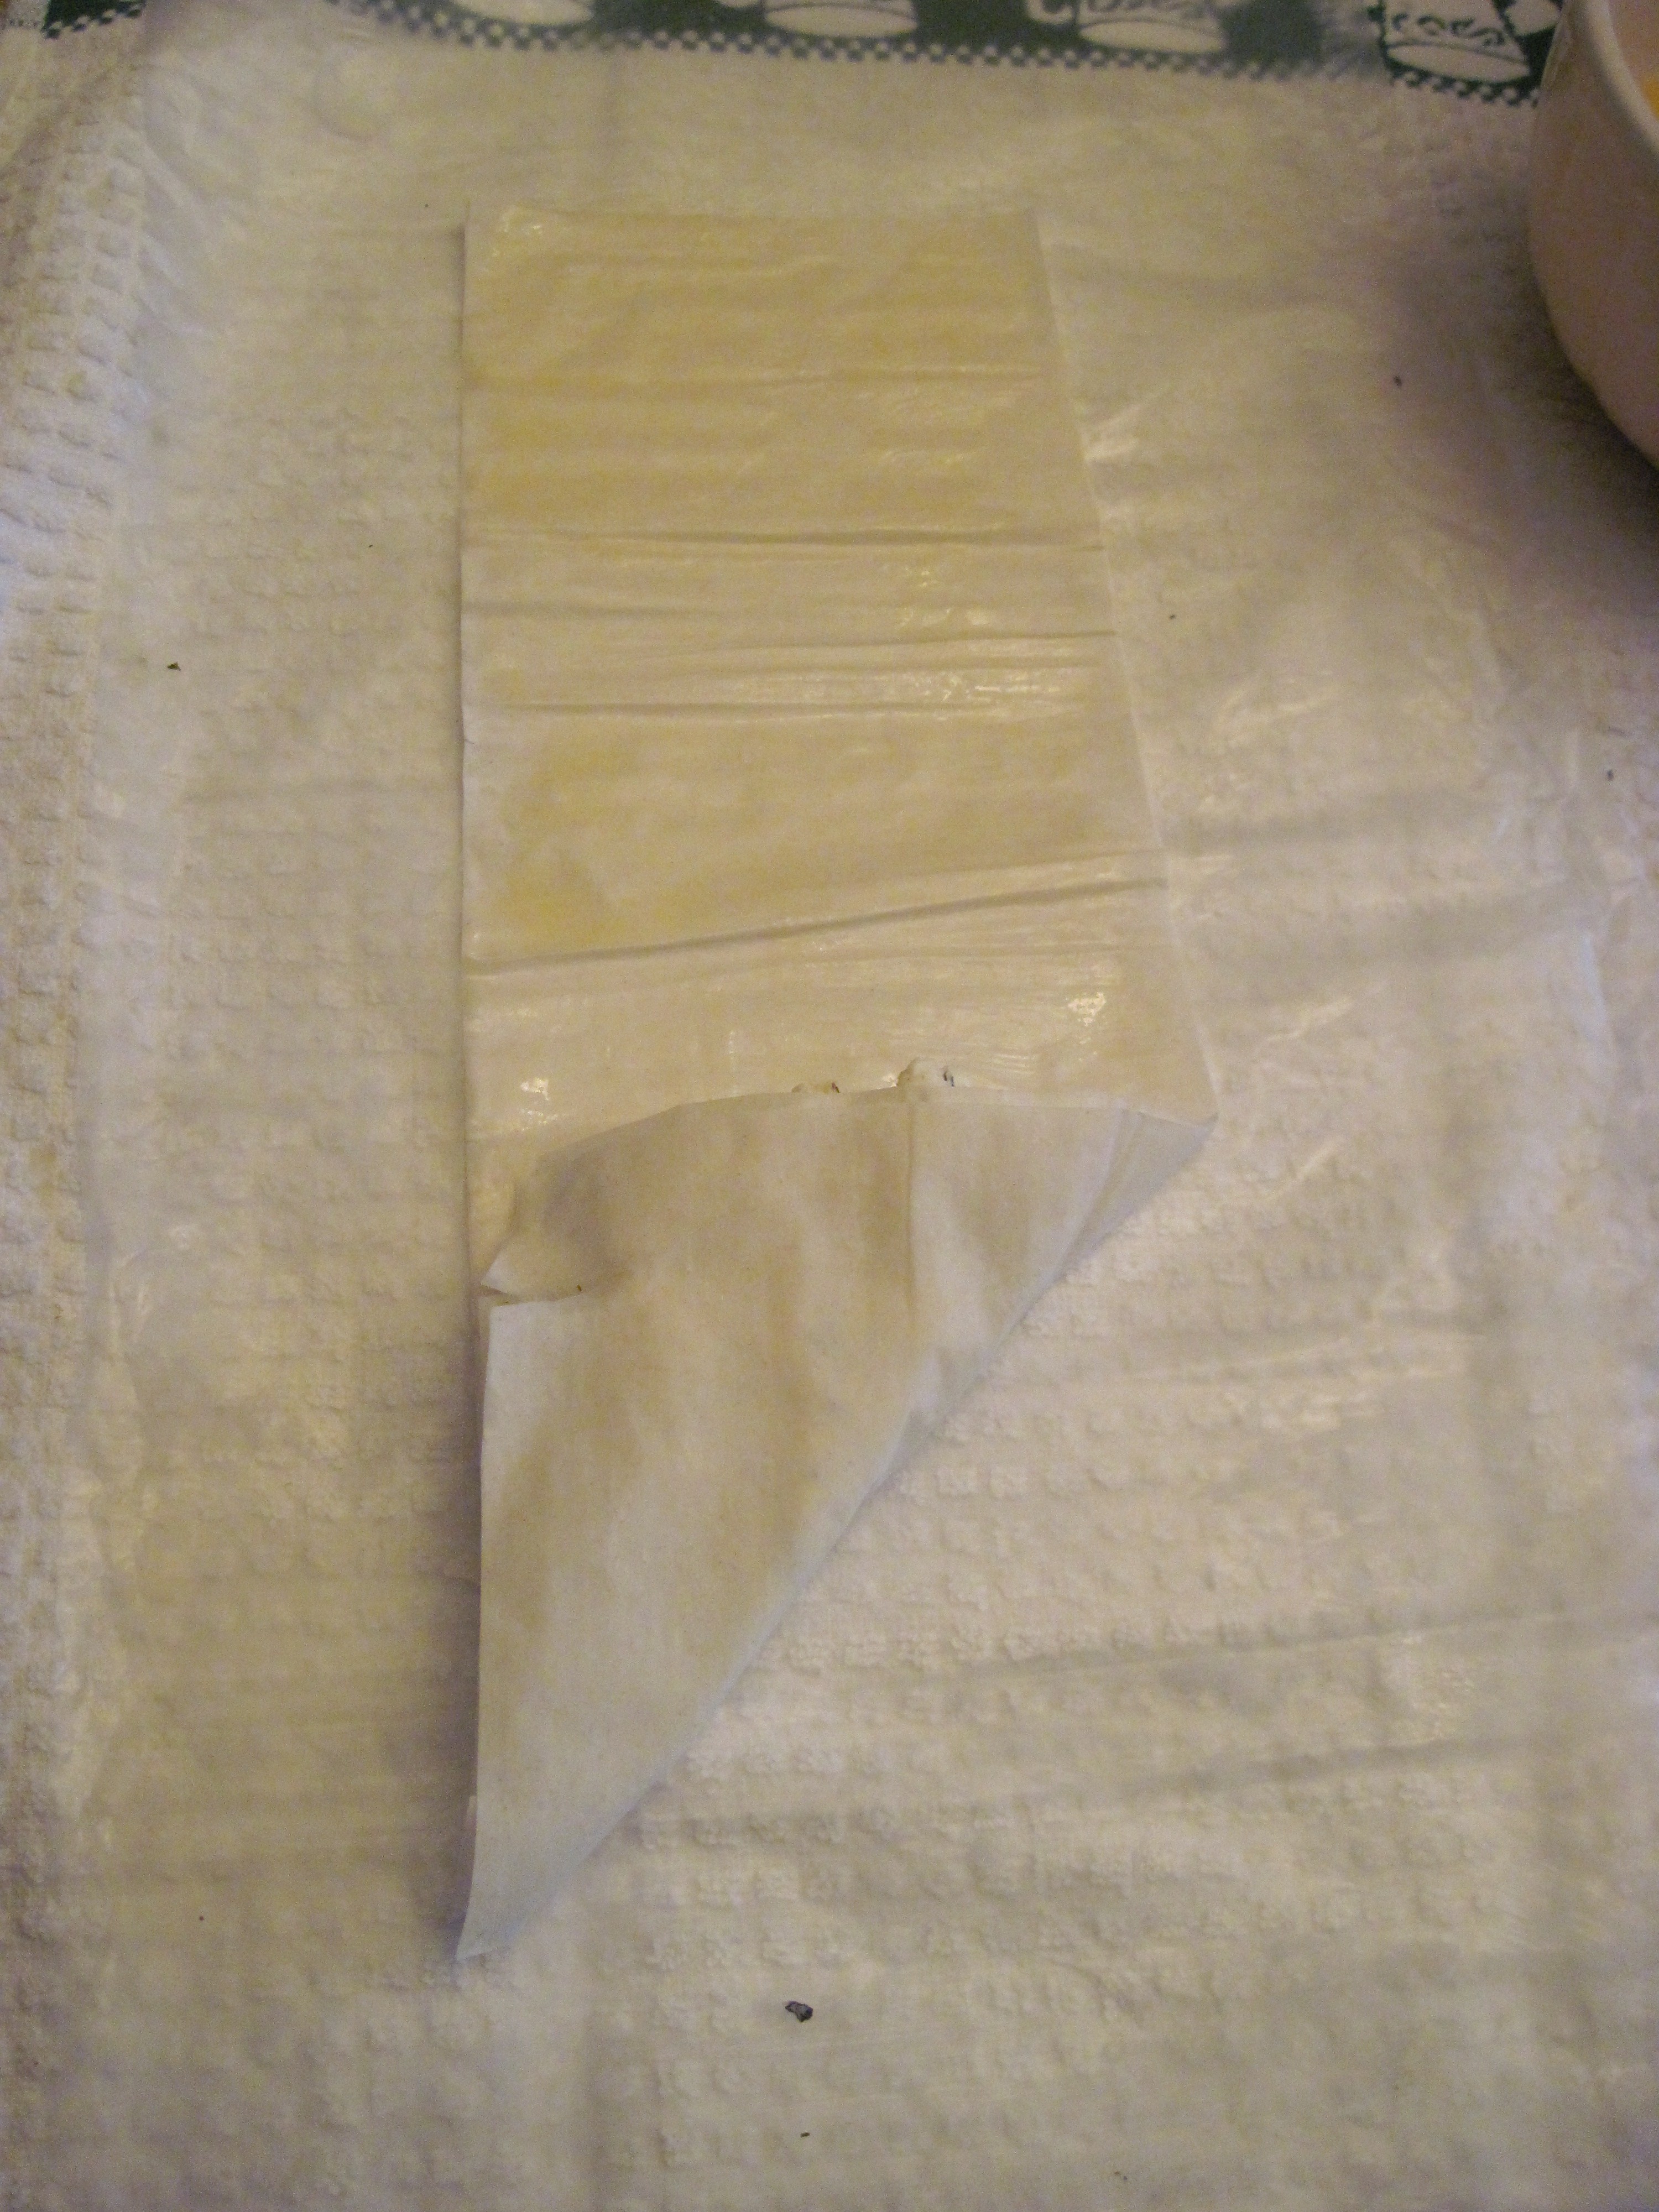
Fold the bottom right corner of the filo over to the top left to form a triangle. Press down gently on the filling to disperse throughout the pastry.
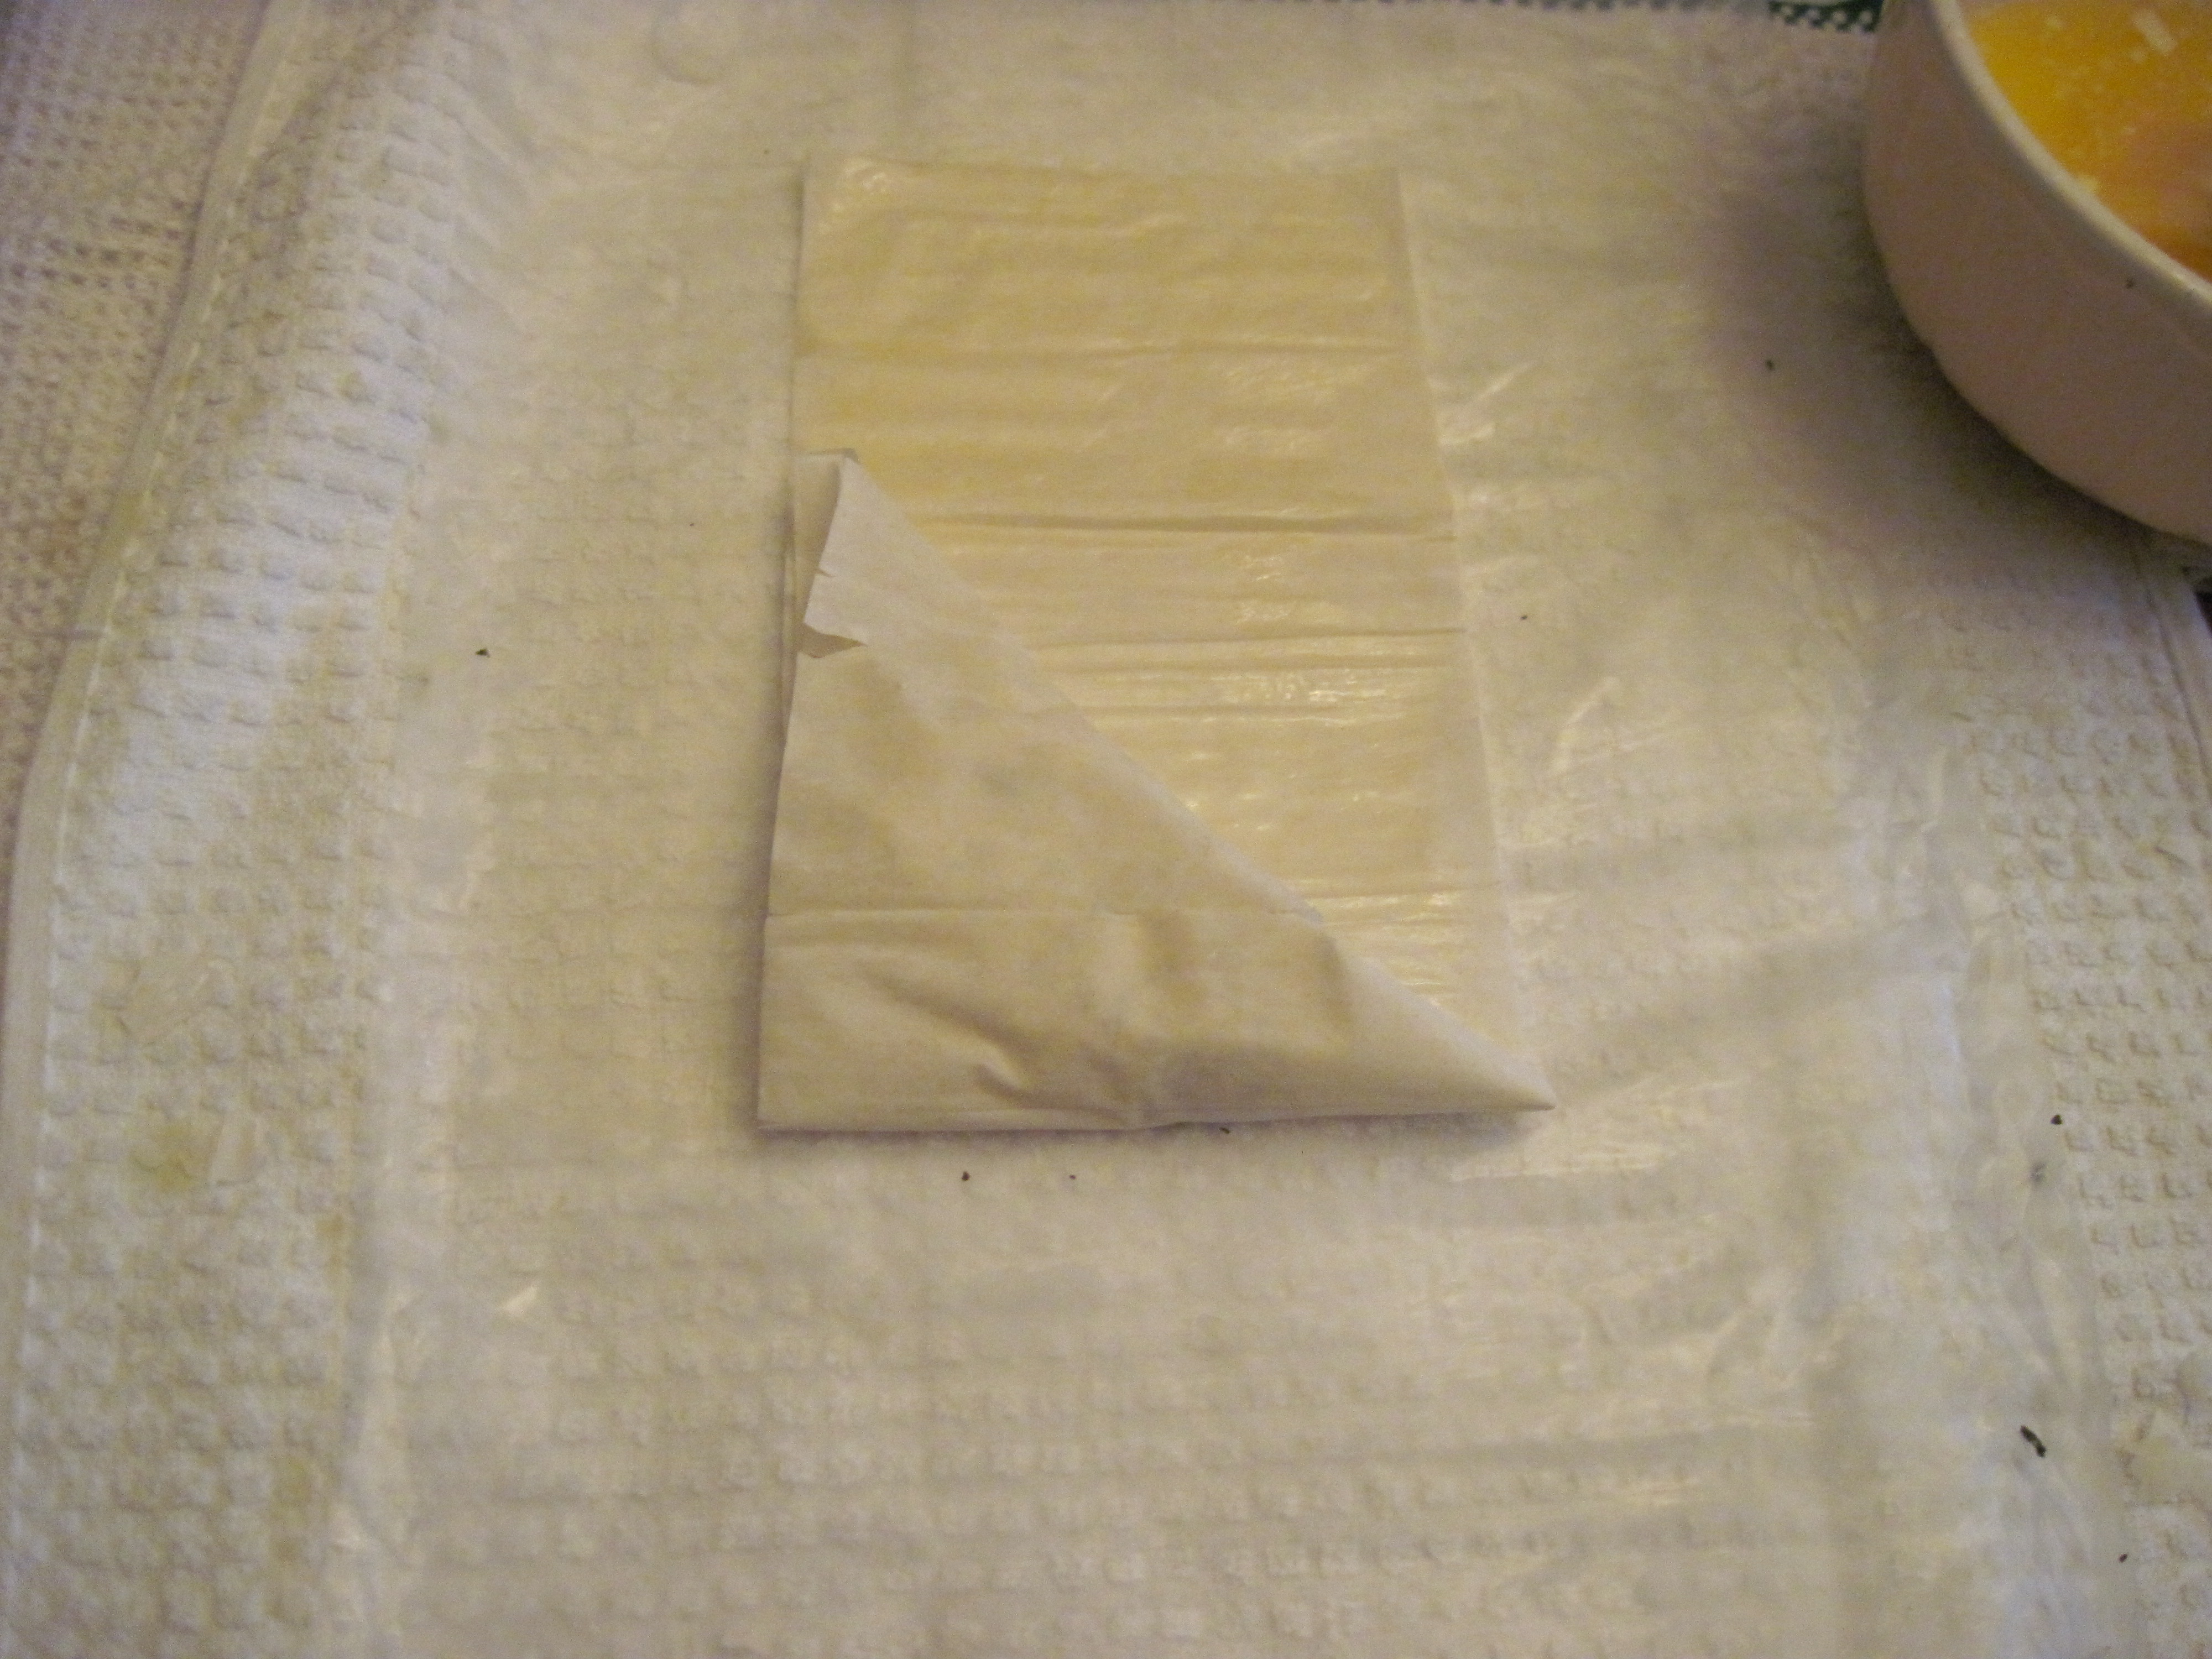
Next, take this triangle and fold it upwards continuing to form the triangle.
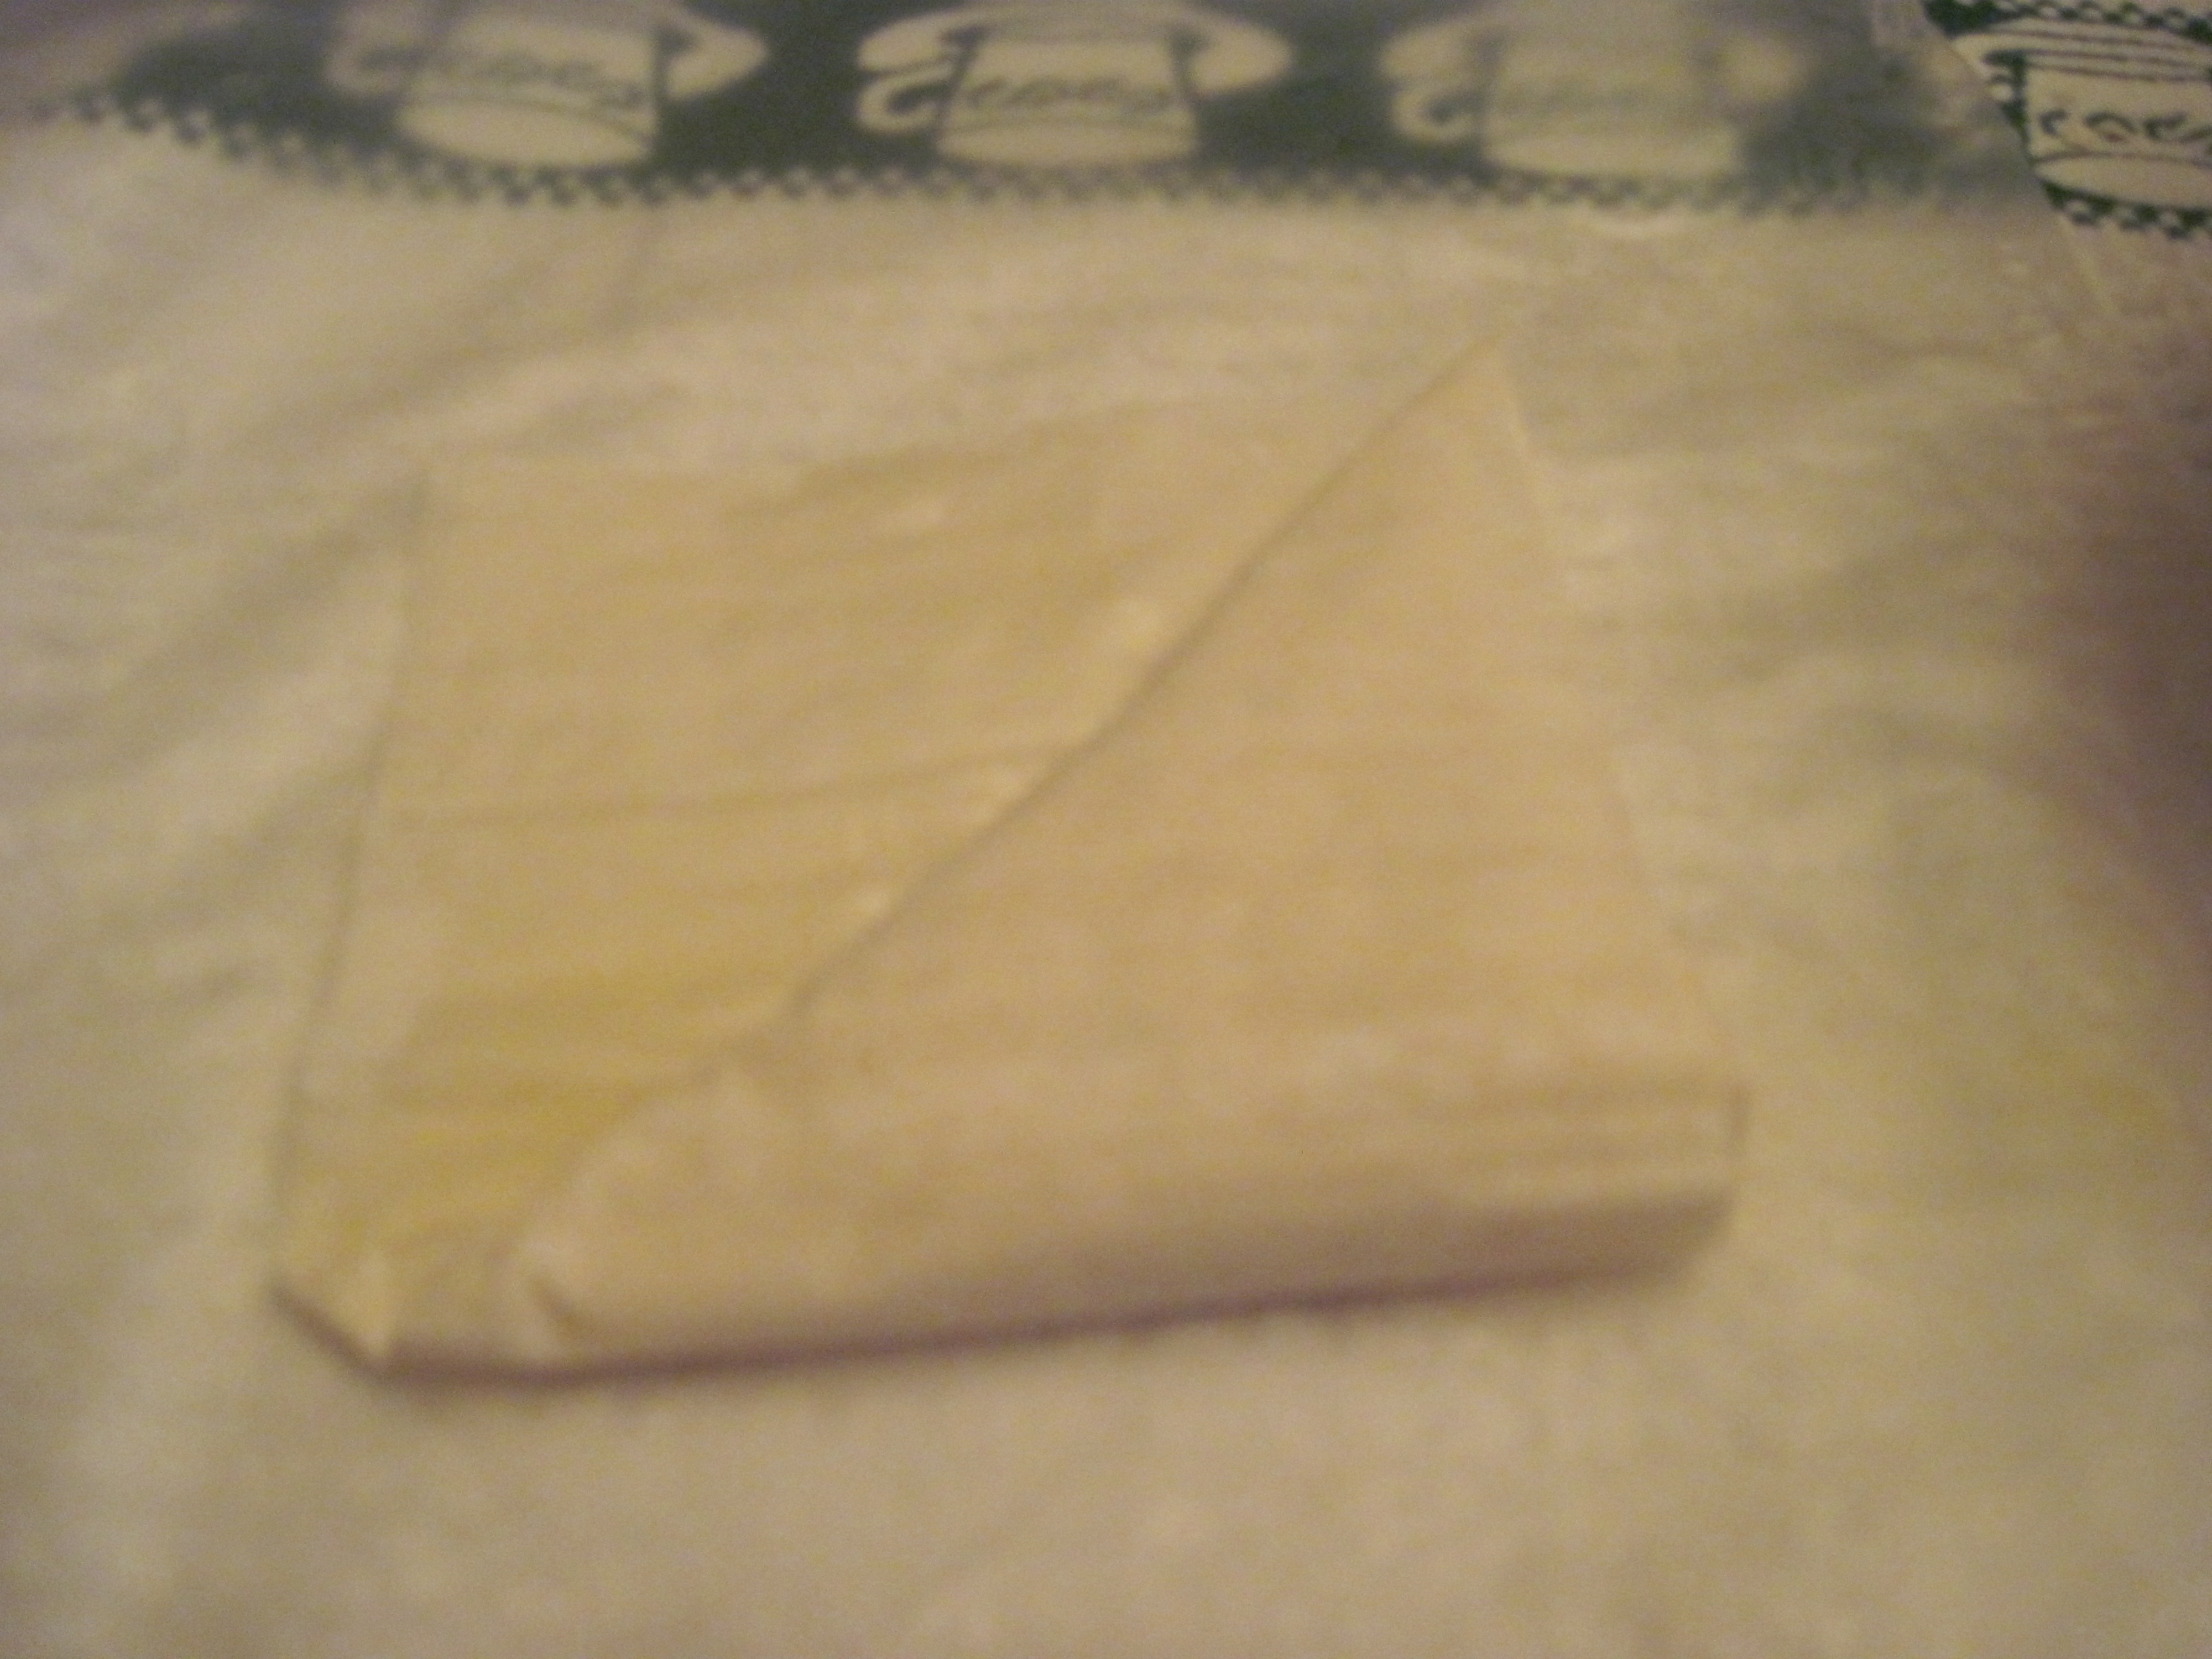
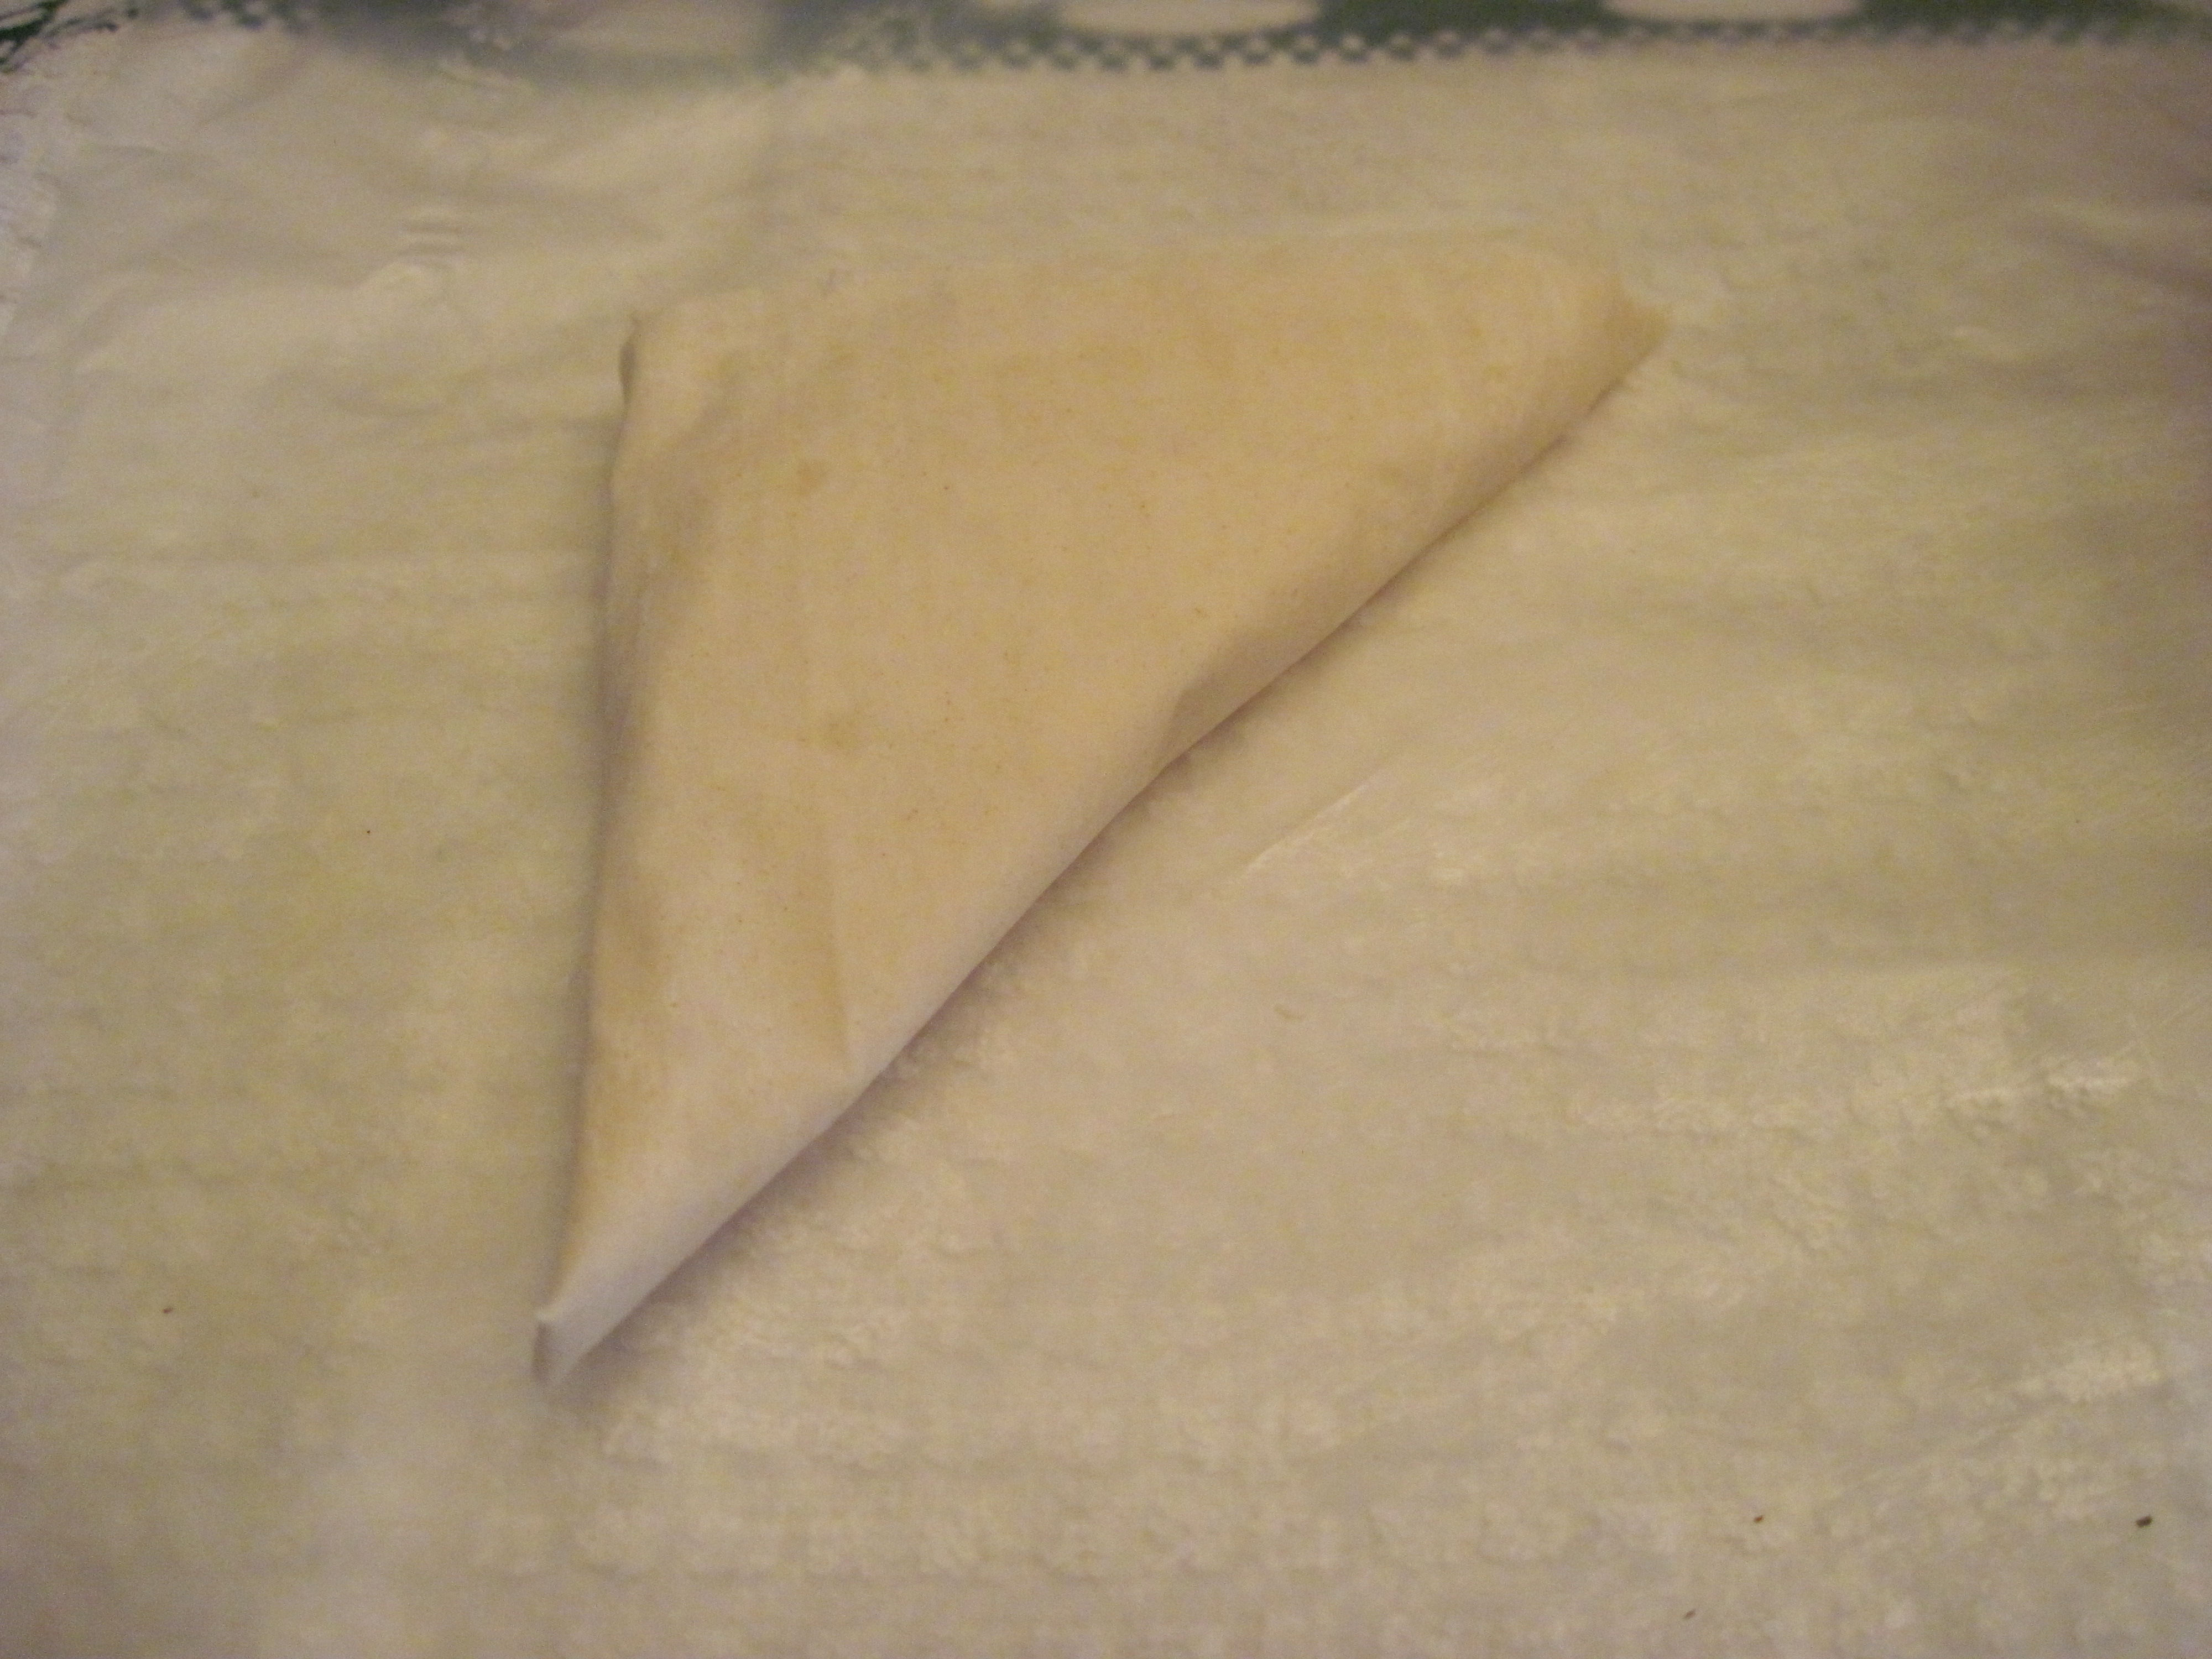
Continue to fold by taking the left lower corner and fold it over to the right.
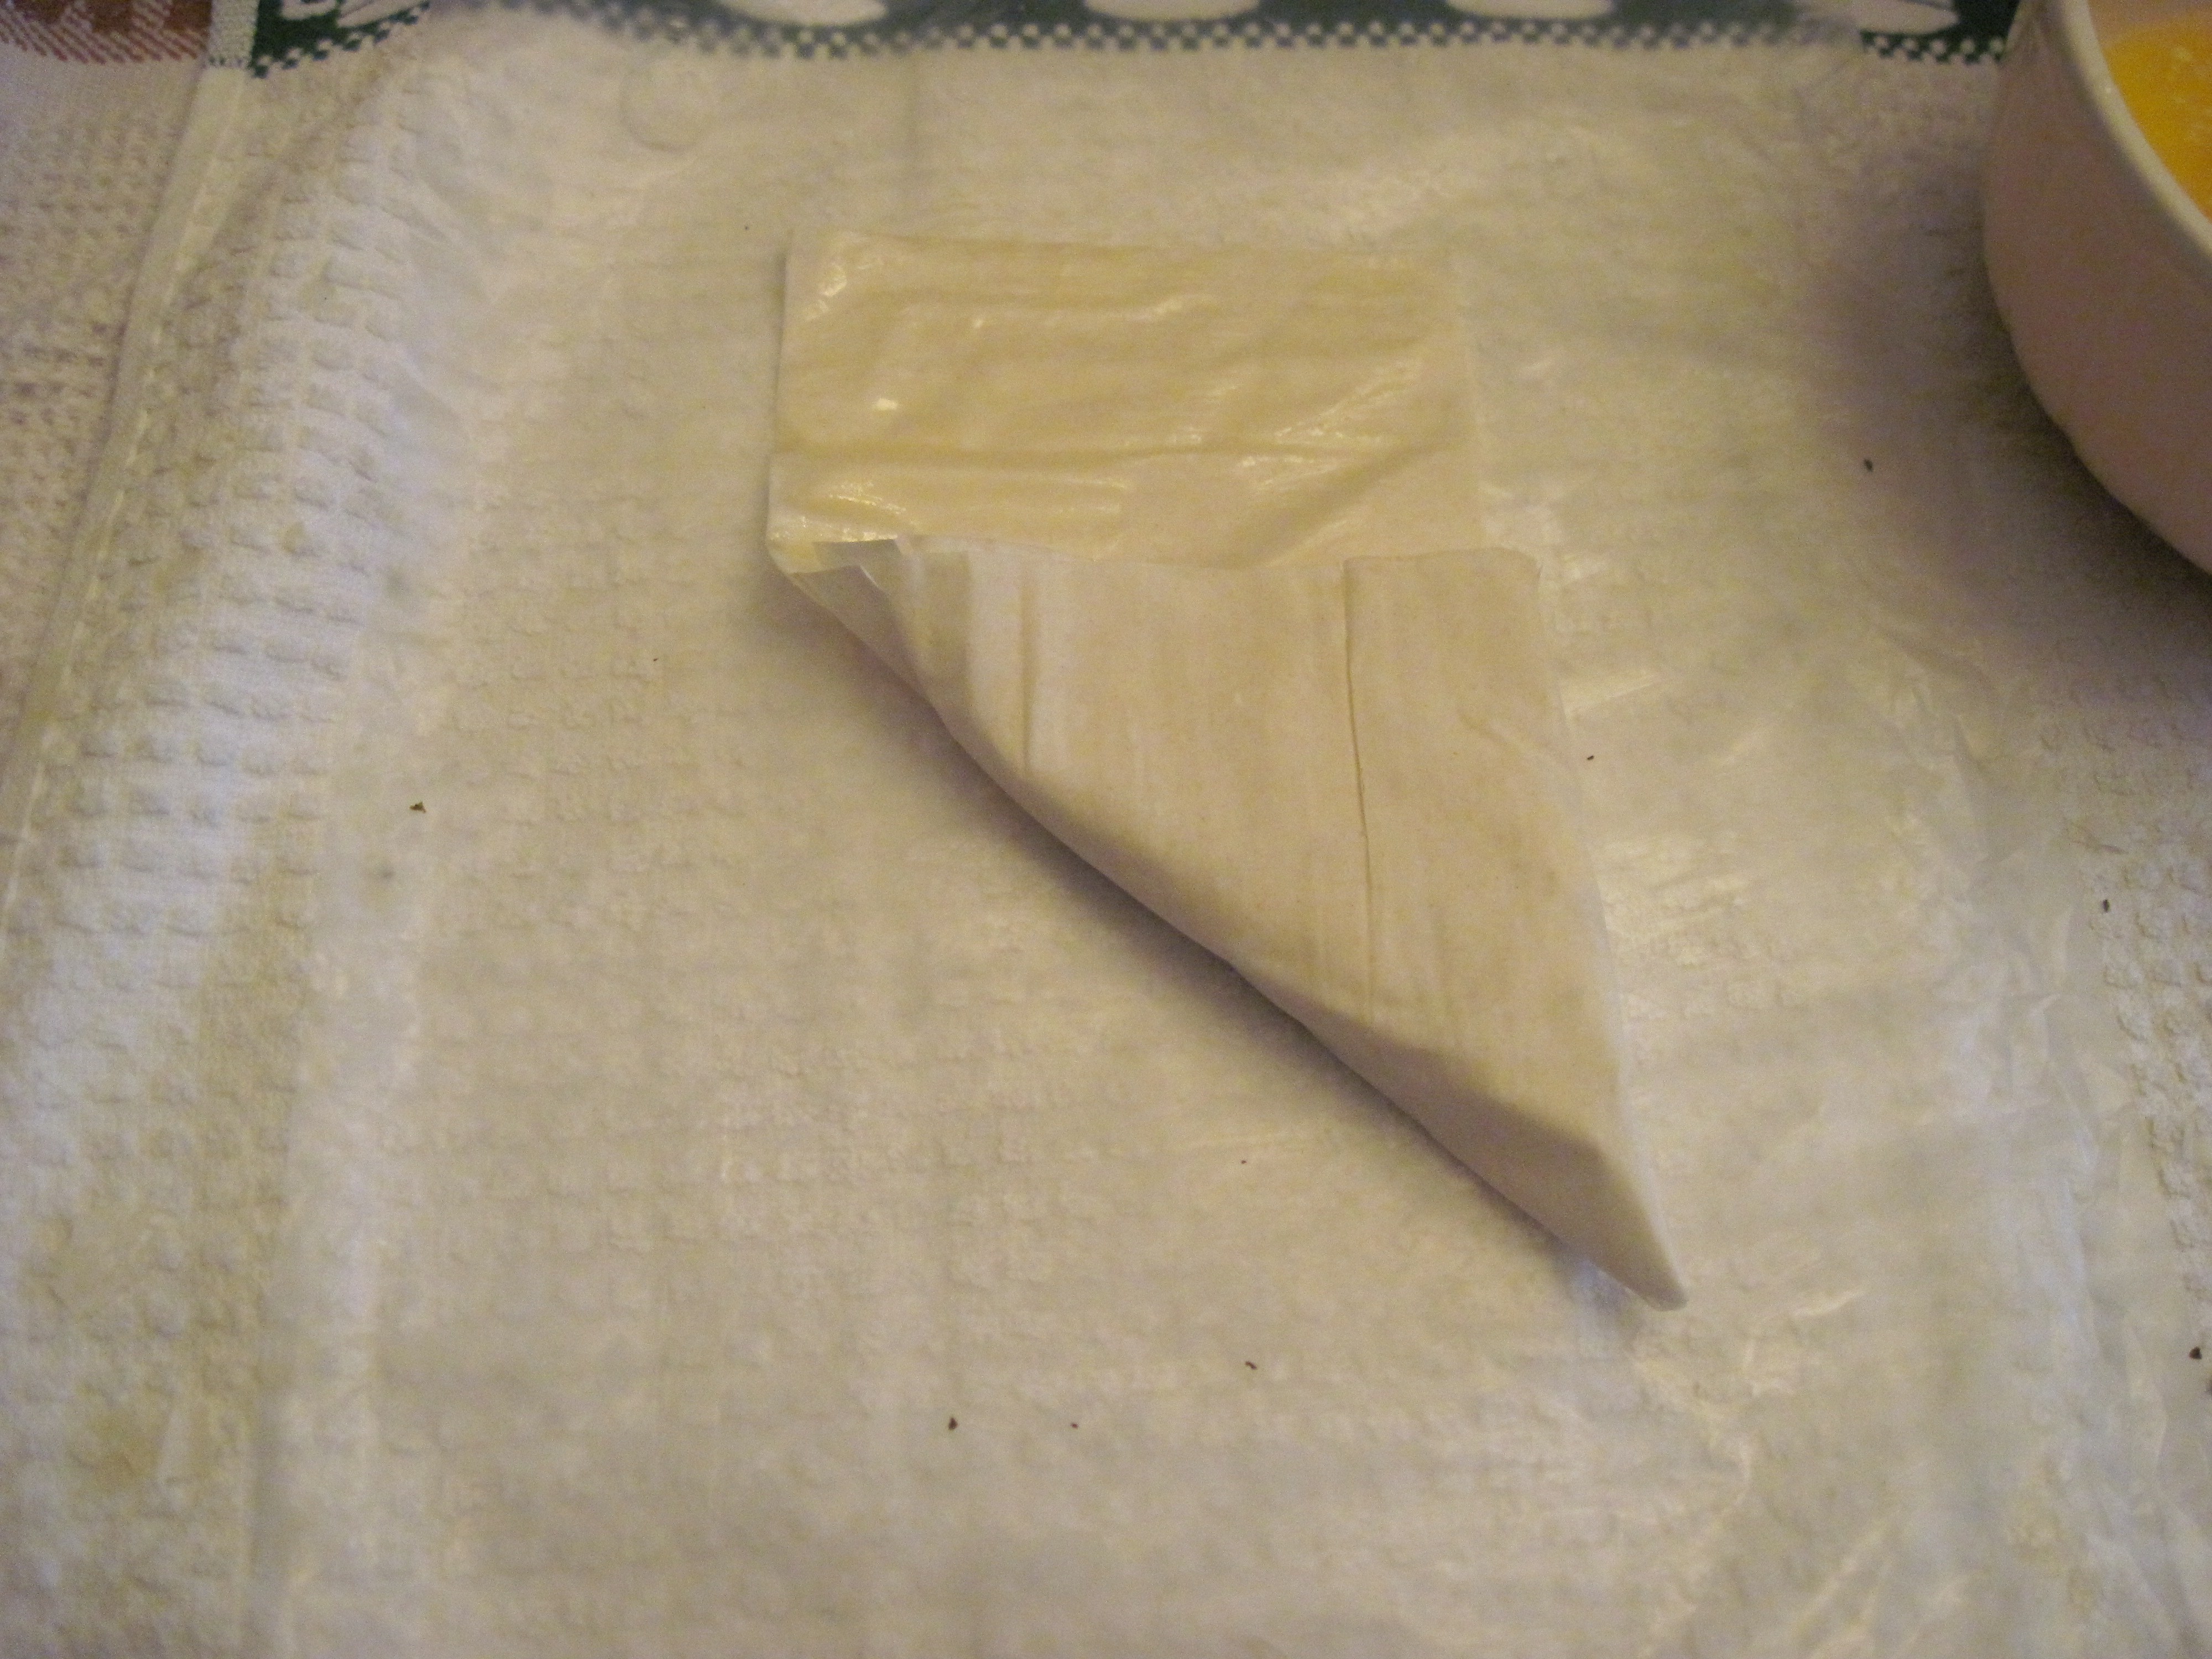
Repeat this until you have used up all of the filo. Flatten again gently to even out the filling.
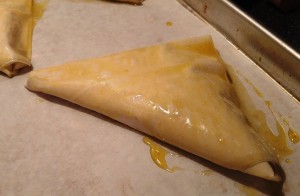
If you choose to freeze these unbaked, place each triangle into a large lidded container that has been lined with a piece of parchment or plastic. Coat them well with a little oil to prevent the filo from becoming brittle. If you are going to stack them, make sure there is a piece of plastic between the layers so they won’t stick together.
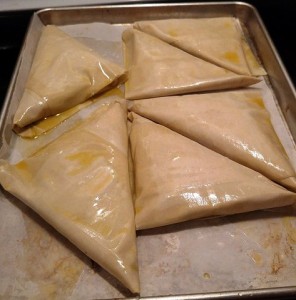
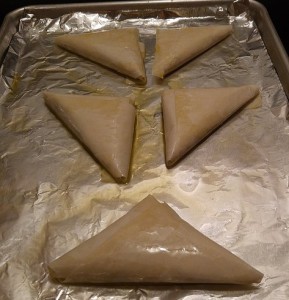
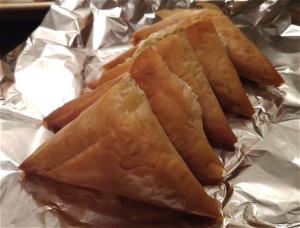
If you are going to bake them right away, place them on a half sheet pan lined with a piece of parchment (or a silicone mat). Make sure they have enough space between them so they are easy to remove once baked. Coat them with some oil and bake at 350 for 30-40 minutes or until golden brown all over.


Leave a Reply